Showing posts with label projects. Show all posts

Thursday, November 16, 2017

.DIY headboard

20170528 headboard (22)

Look what I made! A tufted headboard. We finally feel like adults, and now we can comfortably sit in bed and read or watch TV. This was such an easy project too, I decided to make a little tutorial for the blog.

supplies:

pegboard
upholstery foam
batting
Foam Board PL glue
button covering kit
upholstery fabric
staple gun
extra strong thread
long 6" upholstery needle
regular buttons

Step 1: Cut the pegboard to the width of your mattress and whatever height you prefer. MAKE SURE that the holes are symmetrical before you cut it. It's best if you have a hole right in the center of the board.

Step 2: Find the center and place the buttons in the pattern that you like and make sure you have enough (I had to go buy more). Mark the holes that you want to have buttons in.
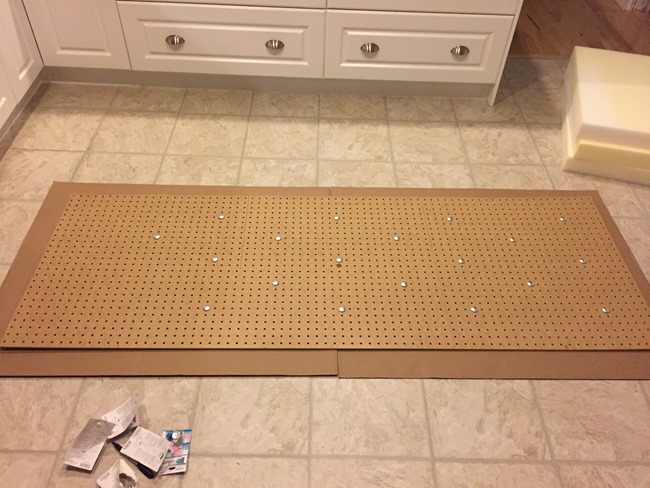
20170523 headboard (1)

Step 2: Glue the upholstery foam to the pegboard using PL Foam Board glue.

20170525 headboard (6)

My upholstery foam came in three sections (it was actually a fold-up bed before) because upholstery foam can be VERY pricey. I got mine for $14.

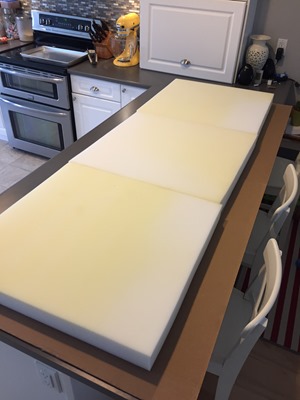
20170525 headboard (10)20170525 headboard (12)

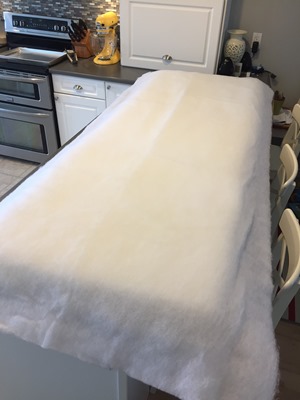
Step 3: I layed out my fabric and 2 layers of batting (I wanted it extra cushy) and cut it down to size. You will need at least 10 inches of excess fabric all around.
20170525 headboard (15)20170525 headboard (16)20170525 headboard (5)

Step 4: Make sure the batting is laying perfectly flat with no creases and wrap both layers around the whole thing and staple it in.

20170526 headboard (3)20170526 headboard (5)

Step 5: Do the same with the fabric taking extra care around the corners to fold it nicely and staple further in than the batting staples.
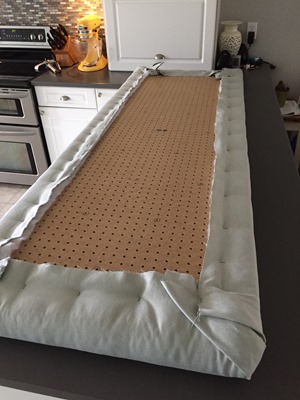
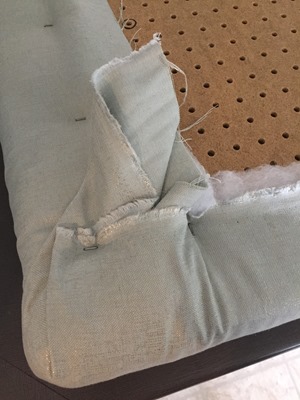
20170526 headboard (6)20170526 headboard (9)

Be careful not to try pulling staples out because the pegboard can get broken. But I stapled the crap out of that thing.

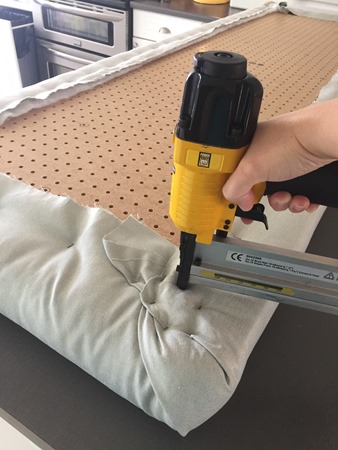
20170527 headboard (1)20170527 headboard (2)

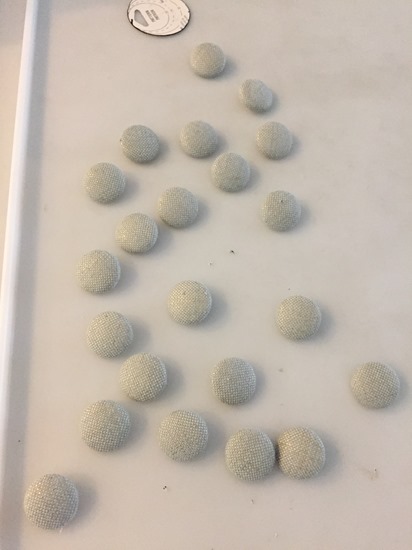
Step 6: Covering the buttons in fabric. The kit comes with a "pattern" so you will know what size of circles you'll need. Trace and cut out the circles of fabric then it's actually really easy to pop the buttons into the little tools it comes with.

20170525 headboard (3)20170525 headboard (1)20170525 headboard (7)

Step 7: I hovered my headboard between a barstool and counter so I could sew the buttons in from underneath. You could also just lean it up against a wall and work sideways.

Using the holes in the pegboard that you marked for buttons, just put the needle and thread through and put a button on, then push the needle back down. It is difficult to find the hole again on the way down, but it is possible! Just try to keep the needle VERY straight. On the backside you put the thread through a regular button and tie a knot. You will need another person to help press the buttons in while you tie the knot. The button holds everything in place.

20170527 headboard (3)20170527 headboard (4)

Step 8: You could mount it to the wall using hooks and screws… We just placed it there and it has never fallen yet! haha

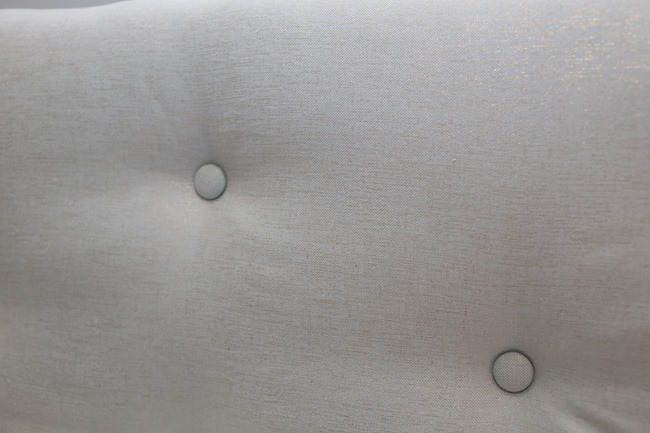
I don't know if you can tell but the fabric I chose has a really nice gold thread going through it that glistens when the light hits it. So beautiful.

20170528 headboard (12)20170528 headboard (13)20170528 headboard (16)

Simple enough right? I saved so much money by taking a little time to make my own, it feels extra good!

Monday, June 26, 2017

.project ten: basement

Before (basically):
20140601 reno (18)20140705 basement (41)20140601 reno (43)

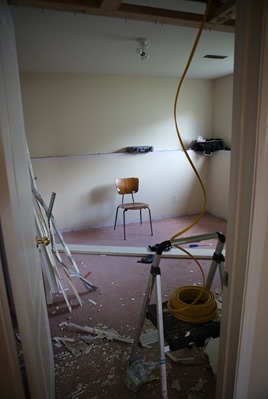
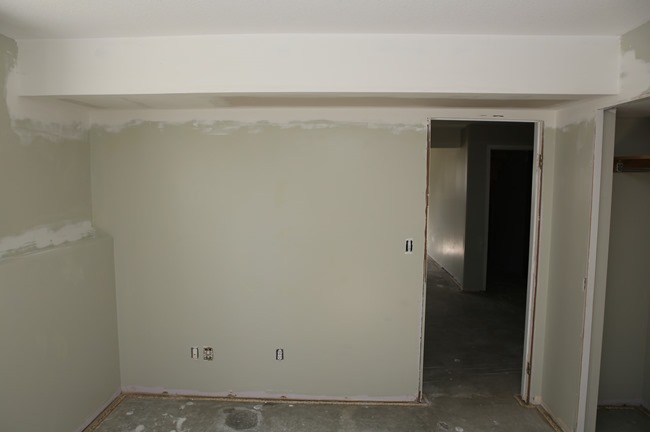
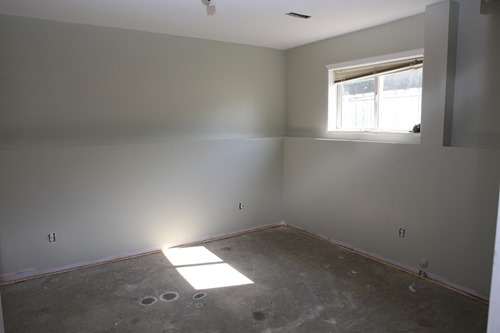
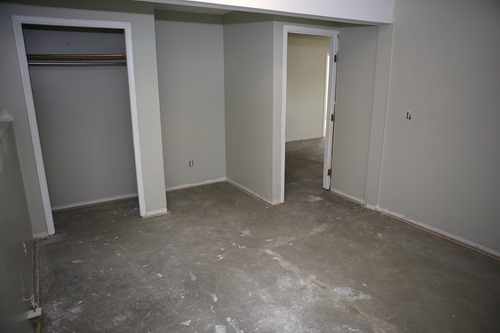
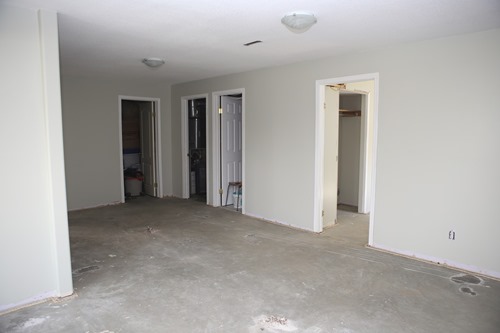
When we bought this house the basement was a whole other story. Apparently we didn't even get a legit "before" photo of it because it was so ugly I thought it might break our camera. These first photos I took of the basement are from after we took out the big boards off the pony wall and the baseboards.

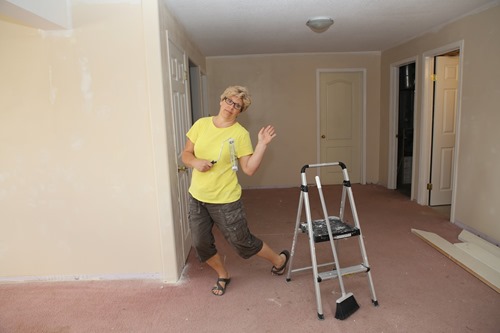
Everything down there was nasty. The pink carpets were COVERED in stains and hair and dirt. The baseboards were sticky and oozing and had a million little crumbs and odds and ends stuck behind them. The walls were dented every couple of inches and painted right up onto the ceiling with a nice peachy tan color. Gag. The basement had obviously been renovated by someone who had no idea what they were doing and the electrical was a mess, as were all of the finishings. It really was a nightmare and we had soooo much to do, we had to start small and focus on one part at a time.

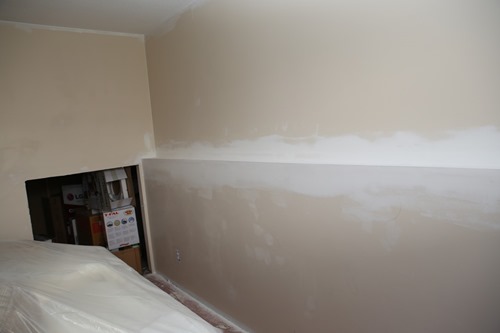
So the first thing we focused on were the pony walls. We tore out these big weird boards they had nailed on and put in new drywall and clean corners.

20140601 reno (25)20140601 reno (28)

Unfortunately the framing under the boards was extremely uneven and also disgusting. We had to do some leveling before we could drywall over it

20140601 reno (33)20140607 reno (6)

The mudding of all these corners and edges was impossibly hard and took us forever…

20140705 basement (24)20140705 basement (21)20140705 basement (30)20140705 basement (25)

Here's the men at work:

20140705 basement (27)

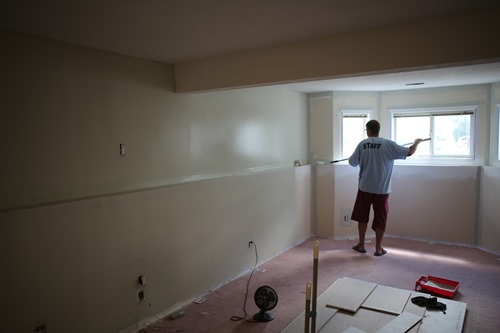
One of the two bedrooms had this extremely low duct on the ceiling, which we discovered was just framed badly and had a ton of empty space below the ductwork. Air went ahead and tore it down, re-did the framing, put up new drywall and wa-la!

20140601 reno (27)20140601 reno (48)20140712 basement (3)20140712 drywall done20140715 basement (9)

Mom and Dad came to help me paint everything!! So thankful to them for all the hours of work they have put into this renovation for us.

20140705 basement (42)20140705 basement (43)20140705 basement (47)

(for reference, my paint choice is the middle one here by Behr):

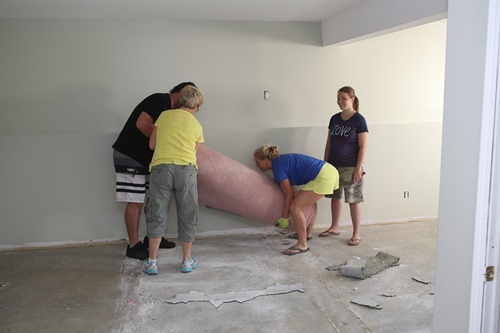
We finally said goodbye to the pink carpet and everything looked completely different.
Thanks so much to these awesome family members for coming to do the heavy labor since I was kinda prego...

20140709 basement (1)20140709 basement (5)20140709 basement (7)20140709 basement (10)20140709 basement (11)20140715 basement (3)20140709 basement (14)20140715 basement (5)20140715 basement (10)

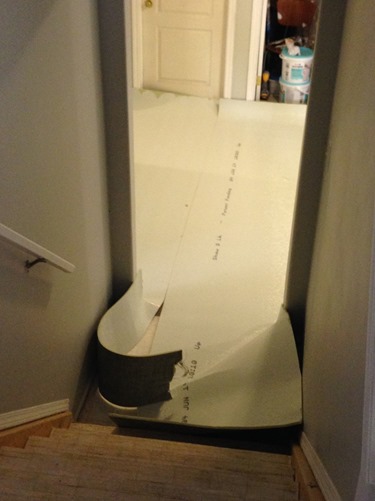
Carpet installers came and we were over-the-moon excited when we saw the new underlay being fitted… and that night we got to go peek at it before he came back to finish the next day. HEAVEN!!!

20140716 carpet (2)20140716 carpet (5)20140716 carpet (7)20140716 carpet (10)20140716 carpet (12)20140716 carpet (14)20140716 carpet (19)20140716 carpet (20)20140716 carpet

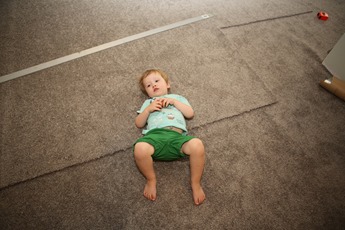
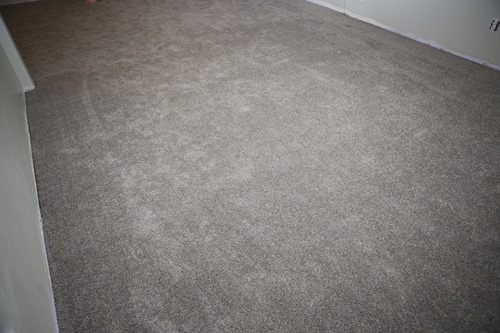
And then it was DONE!

20140717 carpet (1)20140717 carpet (14)20140717 carpet (29)

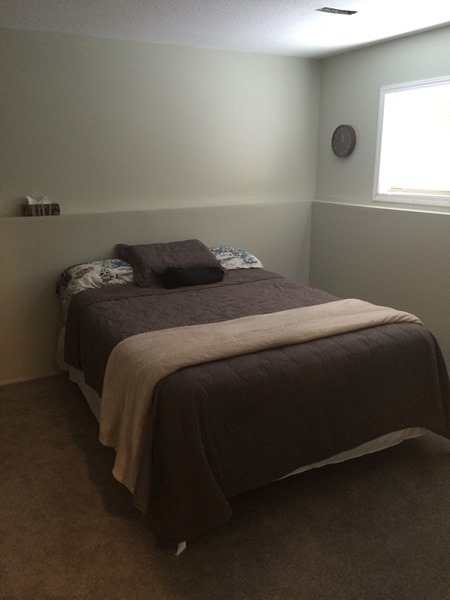
Mom and Dad came back to help with a few more touch-ups, and Air worked on baseboards for dayzzzzz:

20140719 basement (3)20141205 guest room (2)20150415 aaron's door (1)

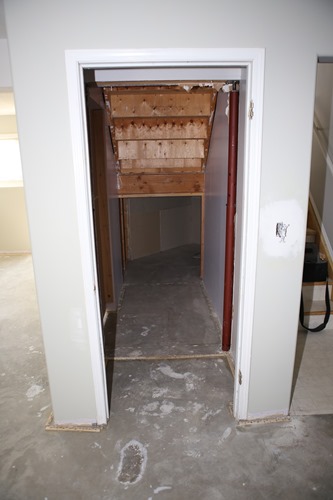
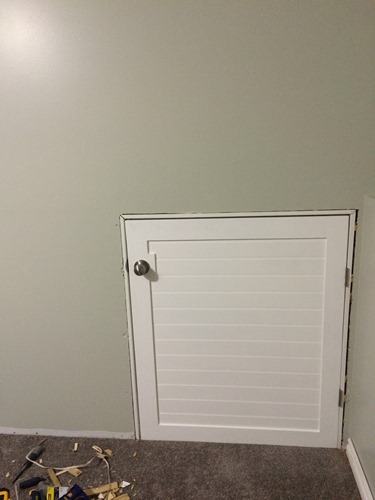
One final project that Air wanted to do was make a little door for this weird little hole in the wall that connects to the space under the stairs. We figured it would be nice to have access from both sides so he just made it look super nice.

here's the hole with tons of boxes shoved in there (don't mind the mess):

20140601 reno (37)20150322 aarons door (1)20150322 aarons door (2)20150322 aarons door (3)20150323 aarons door (1)20150323 aaron's door (1)20150323 aarons door (2)20150325 door

and the finished project:

20150408 aaron's door (2)

And that's about it! We also got a new washer/dryer in the laundry room… but that room still needs a lot more work. Maybe we'll renovate it someday?

20140601 reno (9)

more to come, of course!

LinkWithin

Related Posts Plugin for WordPress, Blogger...